Cups and BallsCups and Balls MagicIf You Can’t Form a Patina… Paint it On An Article By Bruce
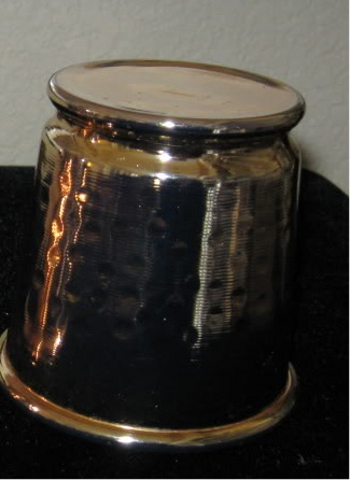
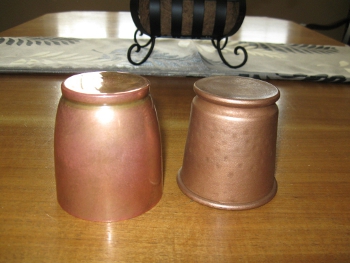
Smith Over the past months I have been encouraging a patina to form on a set of Ickle Pickle Mini Cups. By forming I mean that I had to remove the protective lacquer coating from the Cups and handle them quite often. To make a long story short I am very pleased with the results that I see on the Ickle Pickle Cups patina wise and thought I could repeat the result with an old Chop Cup that I have… boy was I wrong! Long, long ago I purchased a “Tannen’s Copper Hammered Finish Chop Cup,” the story of this purchase can be found at CupsCon.com if you dig deep enough. They weren’t kidding when it was described as “Copper Hammered Finish.” Picture in your mind’s eye a Cup with textured small hammer indentations and a black antiquing solution rubbed into its surface protected with lacquer to give it an aged look. At the time I thought it was a pretty good looking Cup, different from all the aluminum wonders I have seen back then. I will admit that I even thought it was spun in copper and later found out that this Cup was made for Tannen’s by Morrissey… the Canadian company that has made the Cups we all pretty much started out with. Through the years of use the Chop Cup became a little filthy with finger prints and stuff; I thought to polish it during my last Magic rebirth when I caught Cup Fever. This was a bad idea, I managed to rub off the first layer of lacquer and the antiquing solution, but just the same the Cup looked pretty good. PHOTO 1 displays the Cup after I first removed its original finish (I do not have a photo of the Cup as it first was.)
As I wrote above, I was pleased with a set of Ickle Pickle Cups that I worked on and hoped to repeat the process on the “Tannen’s Copper Hammered Finish Chop Cup.” So late one Sunday evening I set up my trusty work area (a cinder block in the garage) and sprayed Rust-Oleum brand Aircraft Remover (a paint and finish remover) on the Chop Cup and to my horror, all the finish ran off the Cup leaving behind an ugly aluminum mess… the Cup that I thought was made of copper turned out to be spun off aluminum! I was dumbfounded by my stupidity and what I did to the Chop Cup… I already ruined it once now I sent it to an early grave… I should have known that it was made of aluminum due to its weight but in the back of my mind I was thinking that it was just a cheap thinly spun copper Morrissey Cup… oh my.
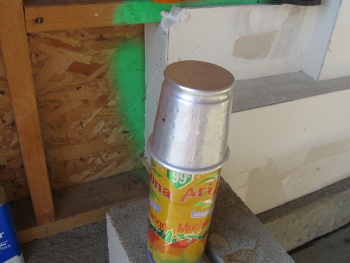
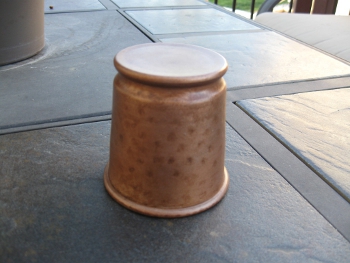
Once I was over the shock of ruining an old friend, I was left with what to do… what to do? Like a bolt of lightning I thought of a posting that our Cup buddy Tom G posted over at CupsCon… paint the Cup! What a great idea, what do I have to lose? So the next weekend I removed the remaining lacquer from the Chop Cup inside and out and gave it a good cleaning with paint thinner. Photo 2 shows the cleaned Cup.
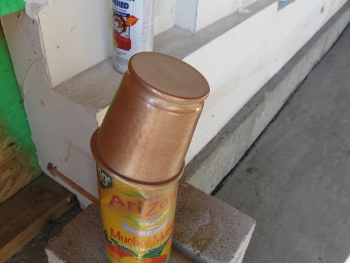
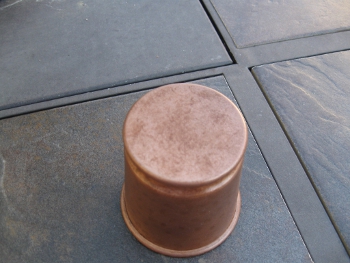
I searched the local hobby shop and lucked out finding a spray paint that would work, Rust-Oleum Copper Hammered Spray Paint. This worked out well as the color was right for a base coat and it had a light texture to it when dried. The paint can read that it was not necessary to use primmer so after 4 very light coats of paint the Chop Cup looked like it had some promise to it and best of all it seemed that the paint was not going to rub or flake off the Cup. Photo 3 shows the Cup with the base coat of paint.
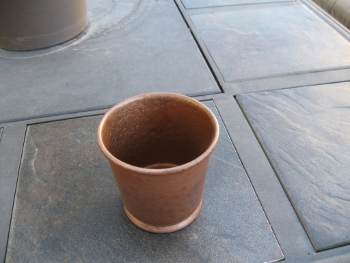
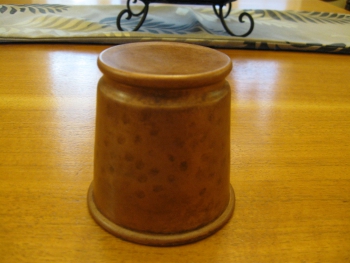
The next process was to age the Cup, but I did not want to make it look like its original state… I wanted it to look like an old patina covered Cup… more realistic. After 2 days of making sure the base paint was dry I used a combination of brown and black Delta brand acrylic paints to achieve the effect that I wanted. I used techniques I learned as a kid from painting tank models to look all beat up and weathered… I lightly stippled and rubbed paint onto the Cup with a combination of Q-Tips, wide brushes and paper towels until it looked good to me. Photo 4 & 5 shows the antiqued Cup, the finish is very subtle and does not photograph that well.
I wanted to protect the artful paint job I applied to the Chop Cup, so I applied several thin layers of satin finish lacquer from Rust-Oleum to the Cup. The lacquer gave the cup just the right amount of shine and in my humble opinion it looks pretty close to an actual Chop Cup with patina. Photo 6, 7 & 8 shows the Cup with the lacquer applied.
To finish off my project, after the lacquer had dried for 2 days I lightly rubbed on several coatings of Renaissance Wax. The wax coating gave the Cup’s finish a bit of depth and left the Cup feeling very smooth to the touch. Photo 9 shows the finished Cup.
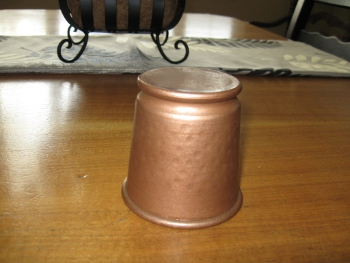
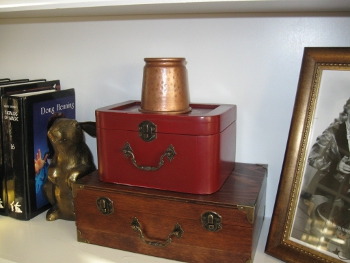
All in all I am very pleased with how the Chop Cup turned out… true it does not look anything like it was in the 1970’s, a cartoonish version of an old Cup. It now appears to be an old treasured curiosity setting on my shelf. Only upon close inspection does it look like a prop from a movie set. I am happy that I brought back an old friend from the dead. Photo 10 shows the Cup on a shelf; my photos do not do the Cup justice as to how it looks in person.
Thanks Bruce! |
Copyright (c) 2009 All Right Reserved - http://www.cupsandballsmagic.com
