Cups and BallsCups and Balls MagicInstant Patina Part 2 An Article By Bruce
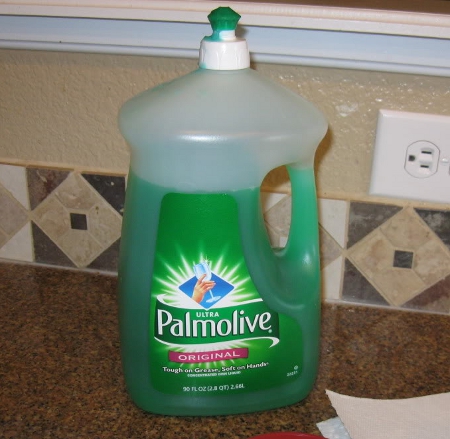
Smith There are those that think the concept of Instant Patina is ridiculous, that the only way for a Cup to turn is by use… I can respect their opinion, but for me, I see nothing wrong with altering a set of Cups to get more enjoyment from them… for now I like some Cups brown and this process is the quickest way I have found to achieve this. Warning… I am not responsible for any damage done to a set of Cups; follow this procedure at your own risk! So far Instant Patina has shown no harm to the many cups I have experimented on and if you don’t like the result, the patina can be removed and the cups polished back to their original state. To begin the process you will need the following- Palmolive Dish Detergent (I have tried others, but Dawn, Joy, and other soaps have not yielded the same results)… Palmolive "Ultra"
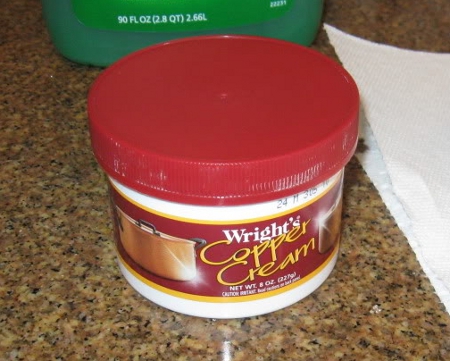
Wright’s Copper Cream (or a copper cleaner that does not leave a waxy coating)… Wright's Copper Cream
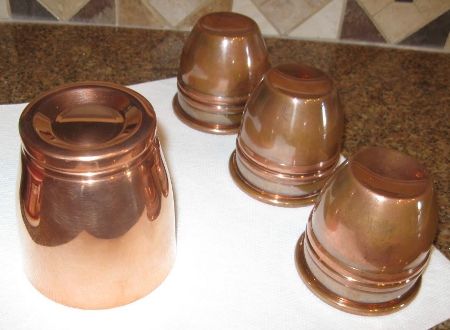
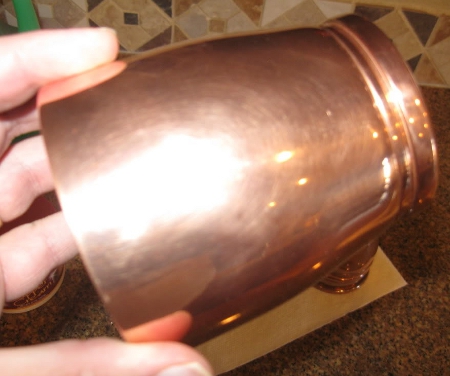
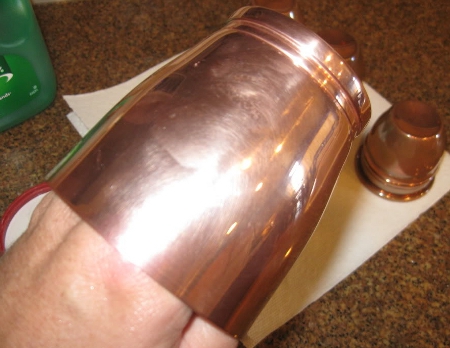
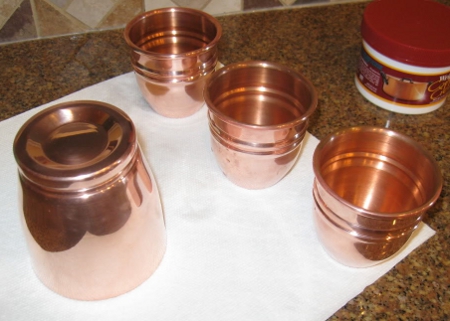
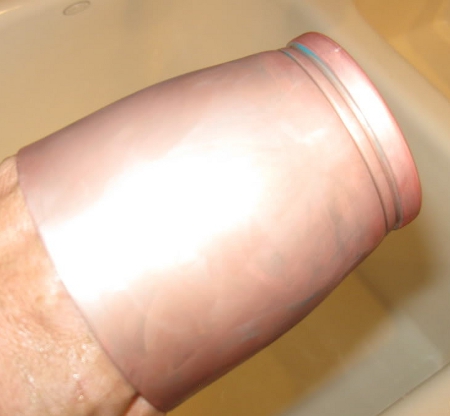
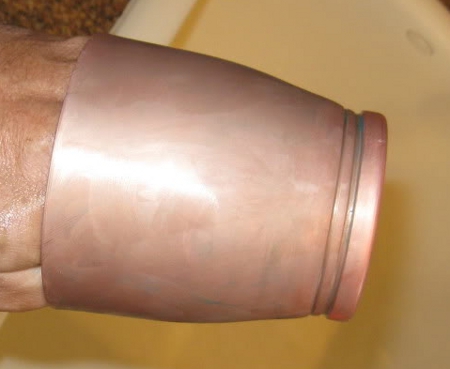
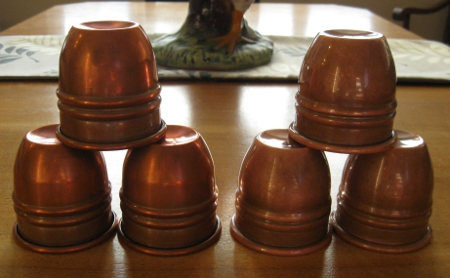
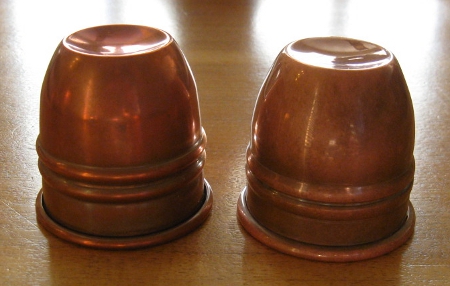
Denatured Alcohol (alcohol that does not have lanolin added to it that leaves the Cups clean without a residue). Paper Towels (towels that are very absorbent) Step One: For an even patina the Cups need to be cleaned well to remove any existing patina and oils left from use. If a good cleaning is not done the Instant Patina comes out blotchy. I have found that “Wright’s Copper Cream” to be the easiest and quickest to use. You simply scrub the Cup with the cream using a sponge and warm water. Other cleaners such as Flitz, Braso or Never Dull, also do a great job of cleaning the Cups, but leave a waxy residue after use. This can be cleaned off using a dish soap that acts a degreaser, “Dawn” brand soap does a good job at this. The Cups that will be used as examples are a set of RNT2 Copper PF Cups and a RNT2 Copper Don Alan Chop Cup. Each is in a different stage of natural patina, The PF Cups somewhat brown and the Don Alan Cup more on the shiny side. The following 3 photos the Cups in the pre-cleaning stage; Its hard to tell how much patina is on them from the photos (note to self, get a better camera), trust me they are not clean.
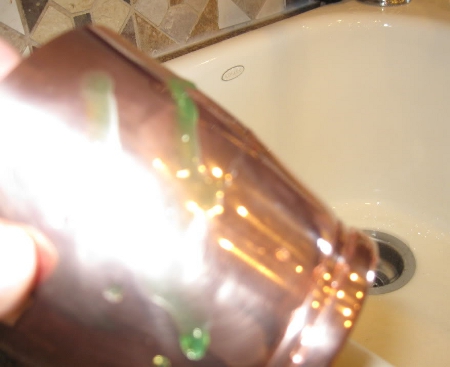
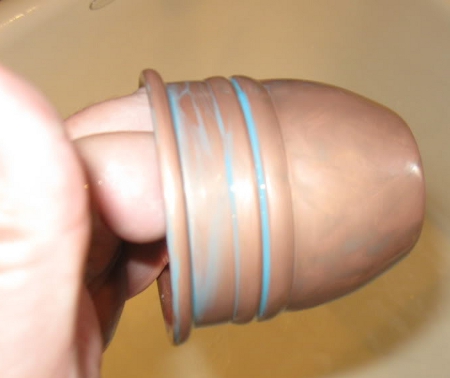
This is the messy part, and I recommend that you do it over the kitchen sink or over some paper towels. Run the Cup under warm almost hot water and apply a good squirt or so on to the Cup. From here you are going to rub the soap with your fingers all over and I mean all over the Cup as evenly as possible. Small circular motions around the Cup and from top to bottom works best. What you are trying to achieve, is rubbing the soap completely over its entire surface… I must stress again, as evenly as possible. As you work the soap over the surface, the soap will begin to get thicker and become a green sludge… this is good. I should mention that there is a certain knack to finding the right amount of soap to water in this process. The best I can describe to finding this is first run the Cup under the tap water with the left hand holding the Cup; apply the soap, then with your dry right hand, use it to rub the soap into the Cup. The next 3 photos show the Cups through the process (getting to the green sludge)…
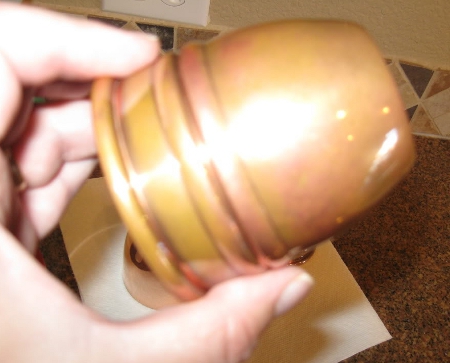
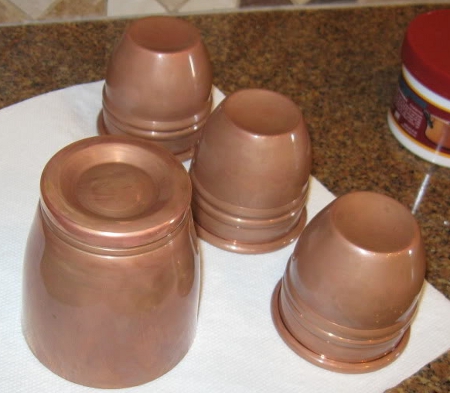
I have found that it takes about 3 to 4 minutes to get to the stage of green sludge. I can’t stress enough that you need to work the soap into the Cup so that there will not be streaks… but don’t panic; if you mess up, you can always start the process over. You will know that you are done when the soap and water evaporates and the Cup has a slight tackiness to it. At this stage there will be no more soap to rub in and the Cup will be slightly tan as the photo above. Step Three: Once the Cup has reached the tacky stage, let the Cup sit for about 5 minutes, carefully setting it down to rest, not smearing the green sludge. Once the Cup has been at rest it will be a darker tan, carefully pick it up with your hand inside the Cup and rinse it well under tap water. Have your paper towels ready and gingerly pat the Cup dry… too much force will wipe off the Instant Patina or cause streaks. I have found if you let the soap covered Cup rest more than 5 minutes, it will develop a yellowish funk. Again don’t panic… if this happens a cleaning of the Cup with the denatured alcohol will remove the yellow funk. To clean the Cup with the denatured alcohol, saturate a paper towel and gently rub the Cup clean… you will see the yellow funk rub off onto the paper towel. Follow this up by rinsing the Cup well with tap water. You should end up with a Cup that is tan or coffee with cream in color. Again… don’t panic if you do not get this result, you can always start over. It took me several tries to get to where I can get predictable results... The next to photos show the results of the process…
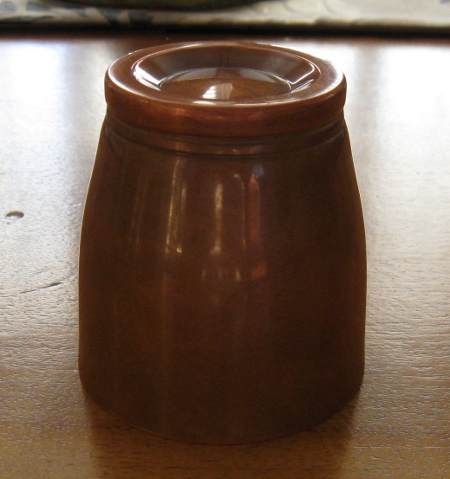
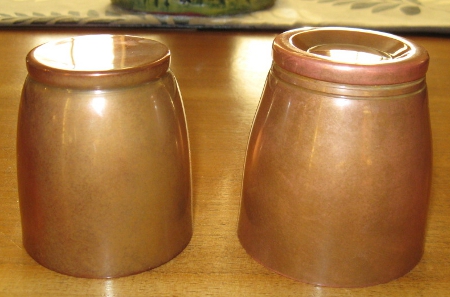
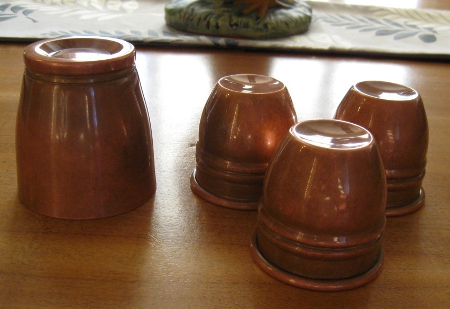
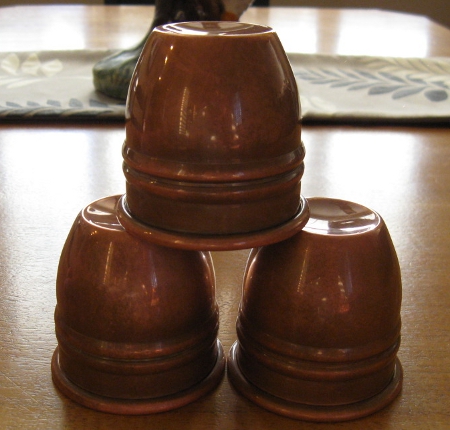
Now this is very important; when doing a set of Cups, try your best to use the same amount of soap and water and resting times. You want the color of each Cup to be as close as possible… and its Ok if one is slightly off, a real patina looks this way. Step Four: Now that the Cups have the Instant Patina on them, they must be handled to acquire a used look. I recommend spending a night in front of the TV fondling the Cups… rubbing them all over. This will darken and smooth the color of the Cups, sometimes it might take a day or to of handling the Cups to look right. As I stated in Part One, I have found placing the Cups between my skin and pajama shirt while I sleep improves the over all color and finish… yes you can call me nuts. If the Cup appears blotchy, give the Cup a denatured alcohol cleaning and another treatment with the soap and handling will even things out. Like a natural patina, the more you handle the Cups the better they will look. I have had Cups turn in just days and some have taken a week. The following photos show the result after a week.
Don Alan Chop Cup
Don Alan Chop Cup next to a Cup with a natural Patina
All the Cups
PF Cups
PF Cups next to a set of Paul Fox with a natural patina
I wish you luck and… your results may vary. Thanks Bruce! |
Copyright (c) 2009 All Right Reserved - http://www.cupsandballsmagic.com
